The advantages of Rialux aluminum siding are significant. In addition to being 33% lighter than other cladding materials, durable, and resistant to all weather conditions and fire, it is very easy to install; taking 25% to 30% less time than other siding.
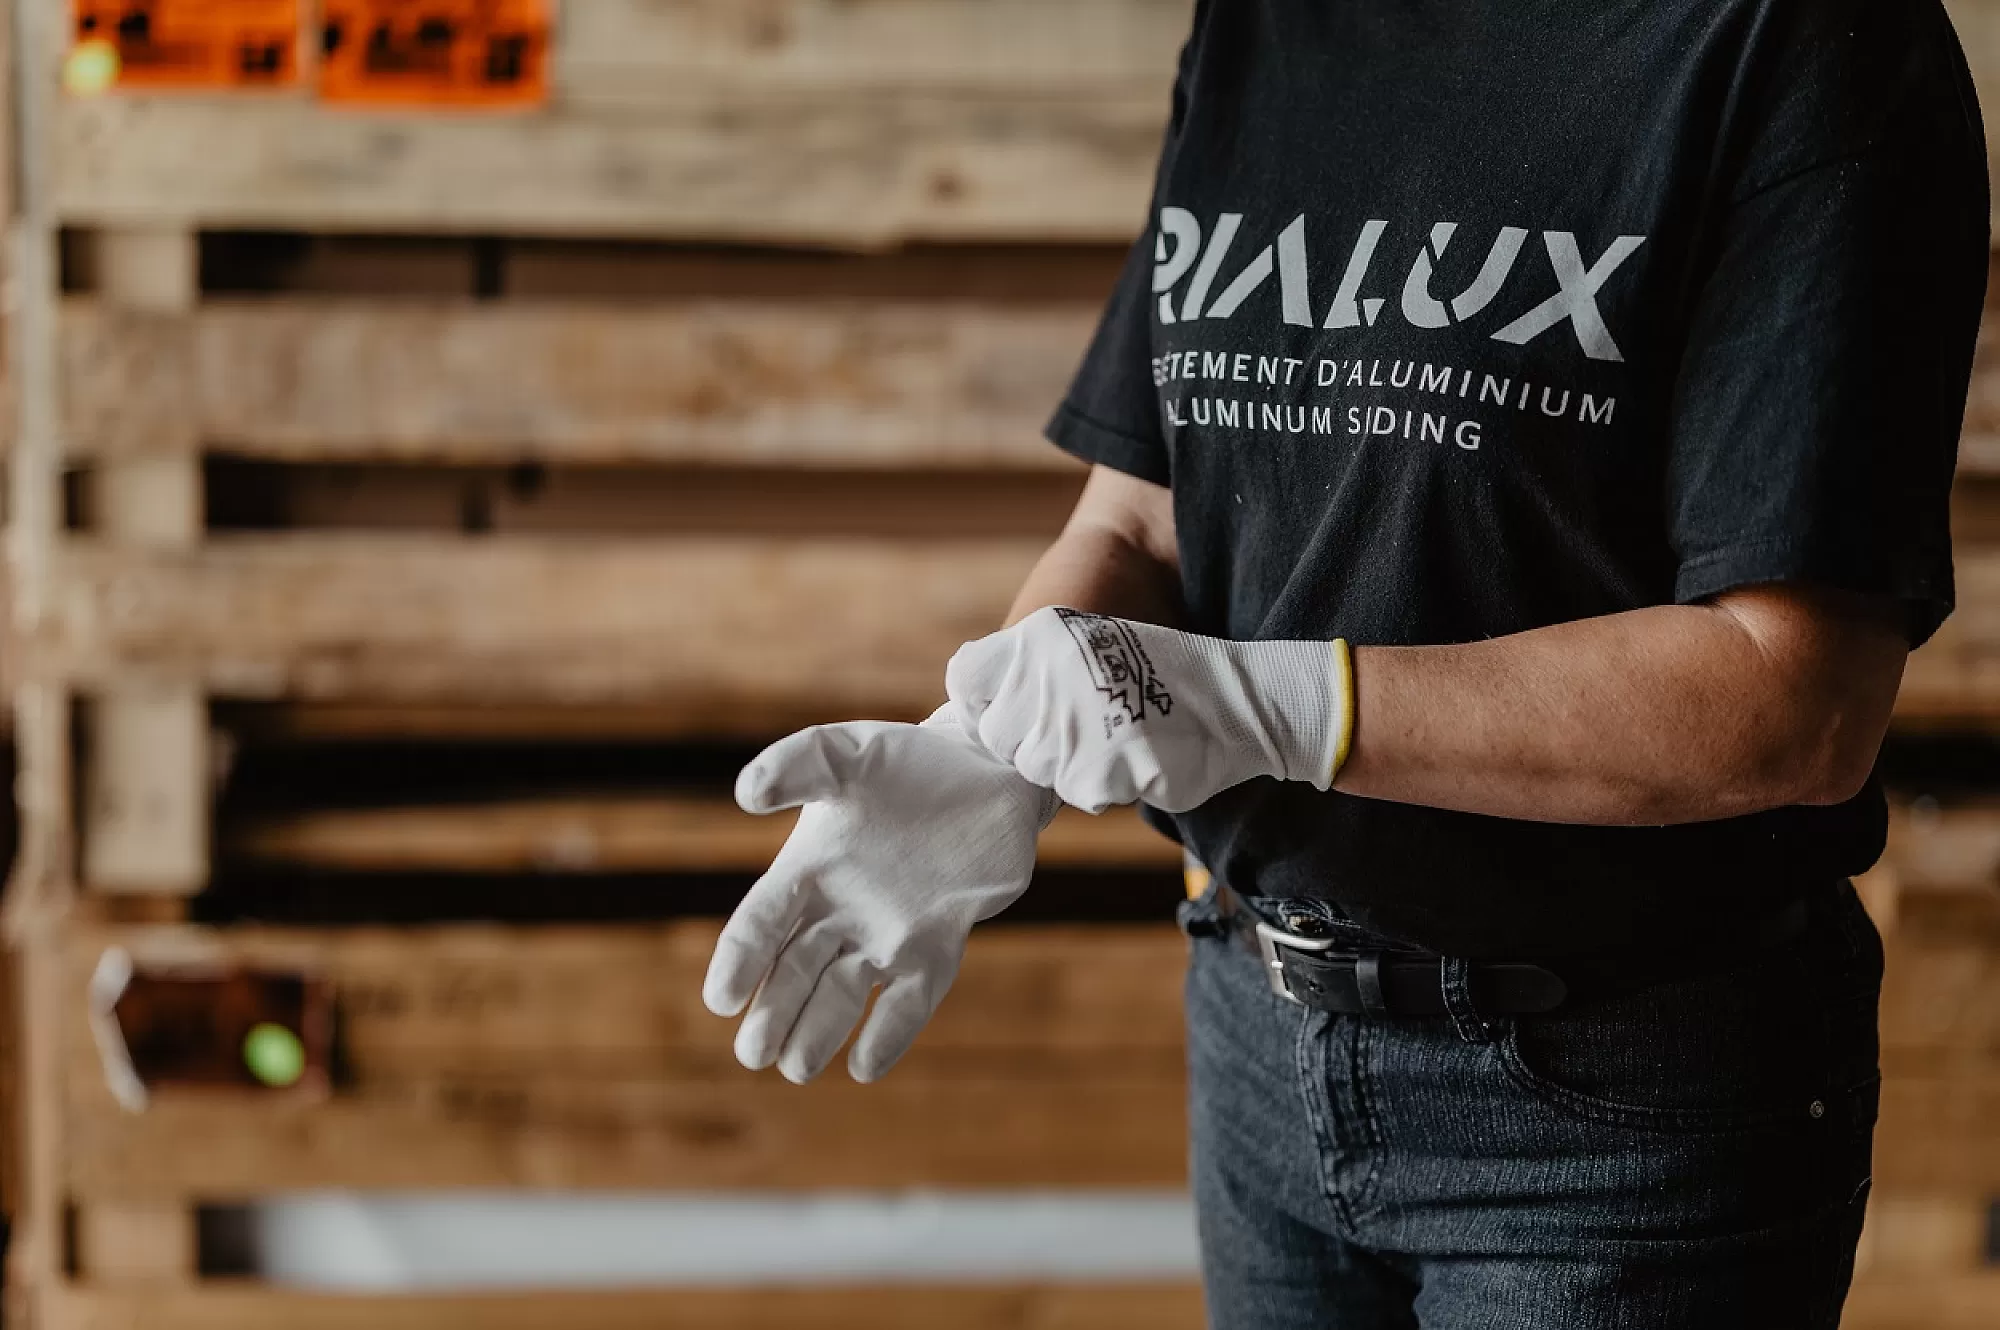
We guide you through its installation with 4 basic tips. These will be useful to you, especially if you are a homeowner and wish to proceed with the installation yourself. However, as a designer, architect, or contractor, these tips will help show you that Rialux siding is a wise choice for both you and your clients, as everyone will save time and money.
1. Gather Your 7 Tools and Prepare Your Space for Siding Installation
While no specialized tools are necessary, you must have the right tools to ensure a smooth installation. Consider renting or borrowing them if you don't believe you'll use them after installing the exterior aluminum cladding.
- A battery-powered screwdriver and drill, as you need to add 1.25-inch stainless steel screws (number 8 - star);
- An electric miter saw with a good finishing blade. Ensure the saw's reach covers the total width of a Rialux aluminum panel. Depending on the chosen collection, this measurement varies from 5.45 inches to 12 inches;
- A level, essential for installing starter moldings but also for regularly checking the results during installation;
- Tin snips;
- A retractable blade knife;
- A tape measure;
- An extension cord to connect the saw.
The Siding Boxes
Make sure that two individuals handle the aluminum siding boxes. Although they weigh only 66 pounds, their length makes it safer for the product's durability when two people carry the box, one at each end.
When you open the boxes, you will see individual packages of different shades of color (4 to 6). These are variations of the chosen color tone so that the final effect is natural and harmonious.
Pro Tip: Open the product box and identify the different shades. Mix the shades well during installation, alternating the shades, to homogenize the wall.
2. Follow the Instructions to the Letter, Whether You're a Homeowner or Installer

The manufacturer's installation guide for exterior aluminum siding is specifically designed for this product. Even if you've already installed exterior cladding, and although some steps are similar, each product has its own characteristics.
For example, Rialux collections are equipped with the Clip Secur stabilizer attachment system. This is a manufacturing method that allows even easier and faster installation. It allows the panels to fit perfectly into each other. Therefore, you won't need to caulk because the joints of this material are watertight.
Moreover, the installation guide contains certain details that are important to adhere to, both for aesthetics and construction standards, such as:
- Overlapping cuts at a distance of 24 inches;
- Adding a 1/4-inch gap at the ends for panel expansion during temperature variations;
- Considerations around door and window openings;
- Fastening piece distances;
- Features specific to accessories (moldings, exterior and interior corners);
- How to take measurements;
- And more.
Pro Tip: Know that you should never over-tighten the screws. Stop when the screw is lightly pressed. Holes are provided for the screws. If you absolutely must add a hole, do it first with an appropriate punch.
3. Work Method: Create Templates for Yourself
Developing a work method that allows you to speed up as the installation process is very advantageous, especially when you are high on scaffolding, you cannot go up and down each time to cut a panel.
Once you have gained confidence, you will know which measurements need to be repeatedly cut, considering the minimum 24-inch spacing between joints. Given that there are 4 to 6 different shades, having one person cut while two others install is ideal.
Pro Tip : Winter Installation
When installing below freezing temperatures, be cautious about protective films.
You must store the Rialux panels indoors and remove the protective film before installation. In cold weather, adhesive residue can remain on the surface of the aluminum. In such a case, use a product like Goo Gone, available at major retail stores.
4. Plan in Advance: Weather, Scaffolding, and Installation Help
Let's be logical; if you do not plan in advance for work of this importance, you risk:
- Having to postpone due to the weather;
- Having to pay fees due to a scaffold reservation that you also postpone, or finding yourself without scaffolding when required;
- Running out of friends, family members, or colleagues to help you because they also have commitments to meet.
Fortunately, considering that aluminum is very quick and easy to install, you will reduce installation time, save on scaffold rental time, and not need many people to complete the task.
Select from a palette of 10 natural, earth-toned colors
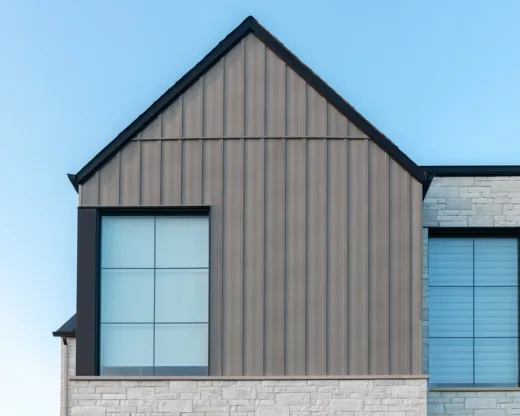
Opting for aluminum offers an eco-friendly, exceptionally long-lasting solution that seamlessly complements various exterior cladding options, particularly masonry.
This design approach enables you to elevate your home's exterior. The understated and nature-inspired tones of Rialux blend seamlessly in various neighborhood settings, be it in urban areas, suburban locations, or rural landscapes.
Order your samples from the Timberland, Bolton, or Tiago collections before making a final decision. If you have any questions, please feel free to talk to us about your project.